> ## Documentation Index
> Fetch the complete documentation index at: https://www.magicpatterns.com/docs/llms.txt
> Use this file to discover all available pages before exploring further.
# Get started with a design
> Generate your first design from a prompt, click through it, and explore new directions. No design experience needed.
In this guide you'll turn a plain-language prompt into a working design, click through it, and try a few variations. No design experience needed. You steer by saying what you like.
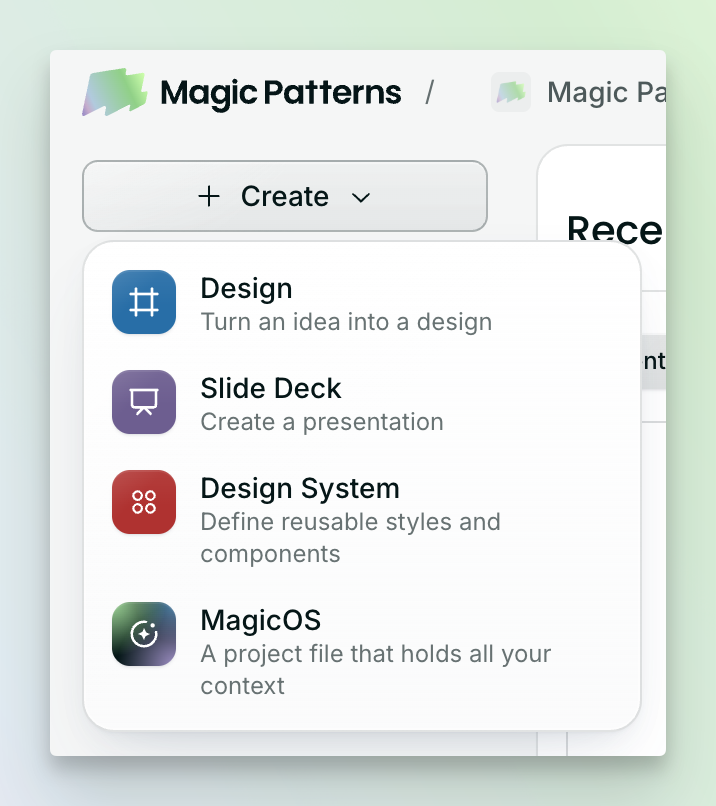
Go to your [dashboard](https://www.magicpatterns.com/dashboard), click **Create**, and choose **Design**. A prompt box opens where your design starts.
 Have a screenshot of something close to what you want? Attach it to your prompt. The models are good at recreating designs from images, and it gives the AI a strong starting point.
Write your prompt like you'd brief a designer: what it is, who it's for, and the feel you're after. For example: *"A dashboard for a dog-walking business that shows today's walks, earnings this week, and a map of routes. Friendly and clean."* Then submit.
The agent reports its progress in the chat as it works. When it finishes, your design opens in Preview.
The preview is a working website, so buttons, tabs, and forms respond. If the AI made more than one page, open the **Screens** tab to see them all side by side.
Have a screenshot of something close to what you want? Attach it to your prompt. The models are good at recreating designs from images, and it gives the AI a strong starting point.
Write your prompt like you'd brief a designer: what it is, who it's for, and the feel you're after. For example: *"A dashboard for a dog-walking business that shows today's walks, earnings this week, and a map of routes. Friendly and clean."* Then submit.
The agent reports its progress in the chat as it works. When it finishes, your design opens in Preview.
The preview is a working website, so buttons, tabs, and forms respond. If the AI made more than one page, open the **Screens** tab to see them all side by side.
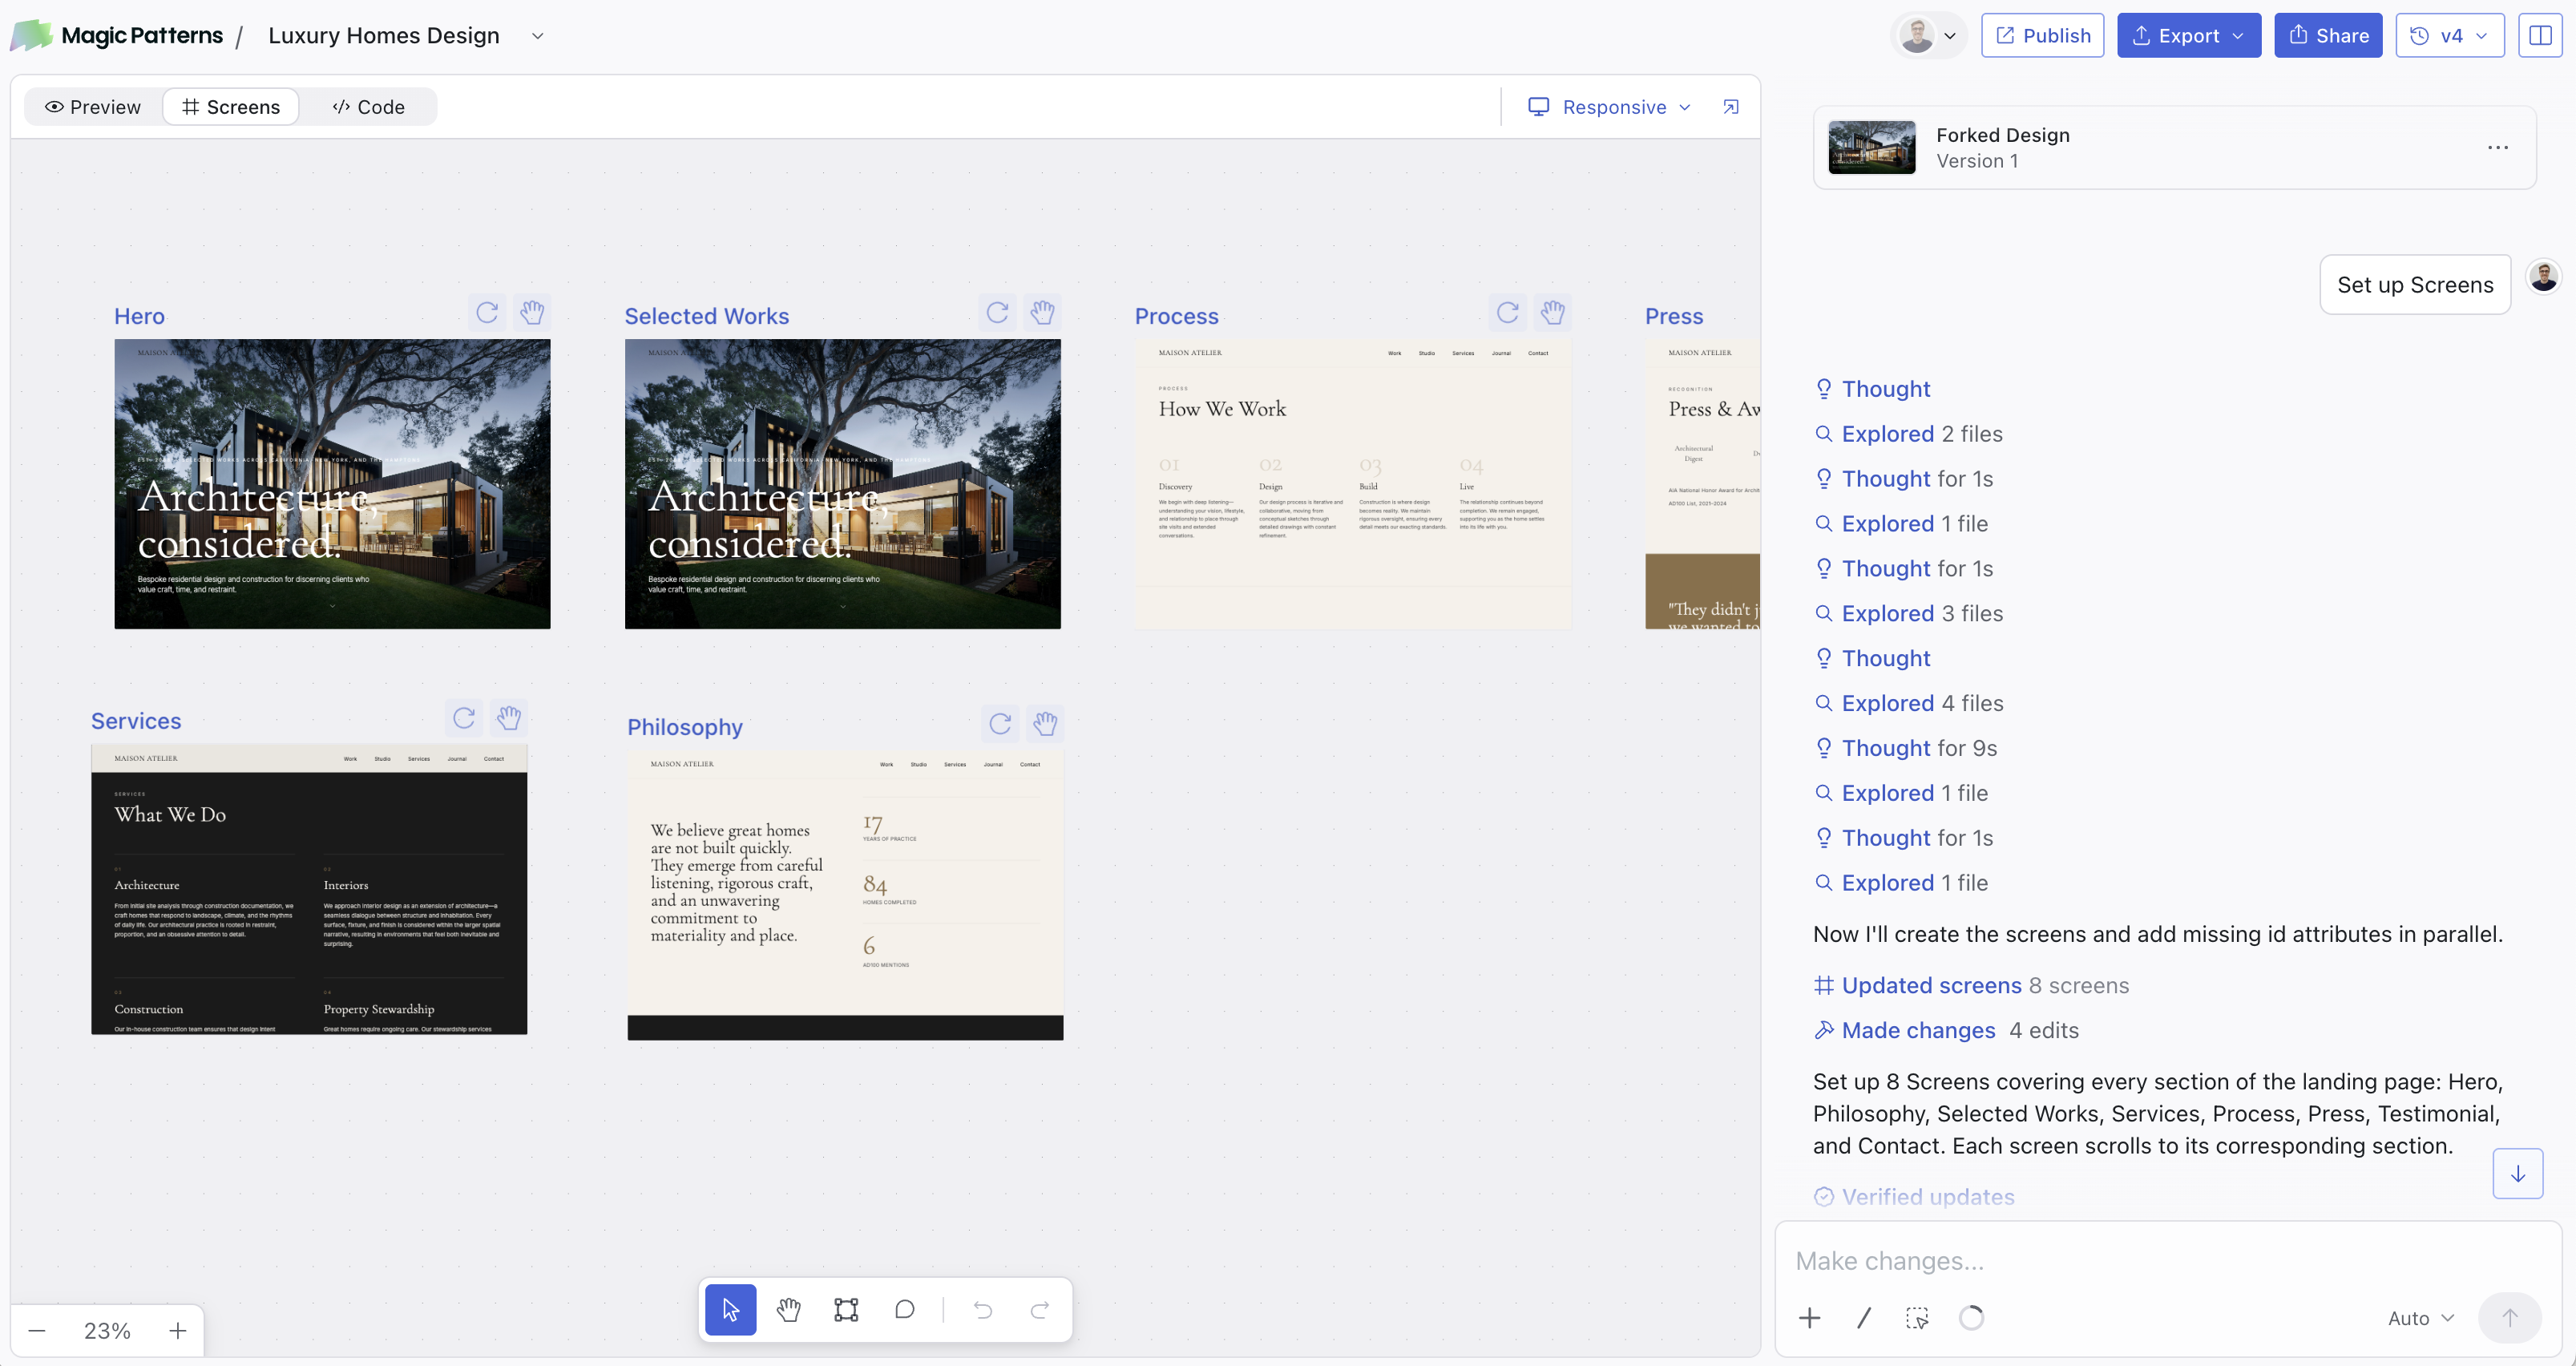 Type `/Inspiration` in the chat to get four variations of your design to compare. To change one specific thing, turn on Select Mode (**⌥ + S**), click the element, and describe the change. Every prompt saves a new version, so you can always go back.
## Next steps
Get closer on the first try with Select Mode, chat modes, and skills.
Fork a design your team already saved instead of starting blank.
Share a live URL with your team or customers.
This documentation is built and hosted on [Mintlify](https://mintlify.com), a developer documentation platform.
Type `/Inspiration` in the chat to get four variations of your design to compare. To change one specific thing, turn on Select Mode (**⌥ + S**), click the element, and describe the change. Every prompt saves a new version, so you can always go back.
## Next steps
Get closer on the first try with Select Mode, chat modes, and skills.
Fork a design your team already saved instead of starting blank.
Share a live URL with your team or customers.
This documentation is built and hosted on [Mintlify](https://mintlify.com), a developer documentation platform.