A Practical Guide to AI-Generated UI Design
It's 2025 and the same pattern keeps playing out: learn, adapt, leverage.
Why AI Changes Everything for UI Design
"Embrace AI for the first 50% of the design process."
This is a great way to frame AI's role in design. Use AI for brainstorming ideas, creating wireframes, analyzing user research, and generating design variations.
In 2025, the biggest edge is the ability to move fast.
Tools like Magic Patterns help you:
- Generate interactive prototypes
- Gather user feedback
- Iterate on ideas faster
- Stay creative instead of repetitive
AI handles this so you can focus on what really matters: speeding up the software development lifecycle.
Step-by-Step Process for Creating AI Generated UI Designs
To keep things practical, let's walk through designing a landing page UI using Magic Patterns.
Phase 1: Initial Design & Setting Foundations (Hero Section)
1. Write a General Prompt
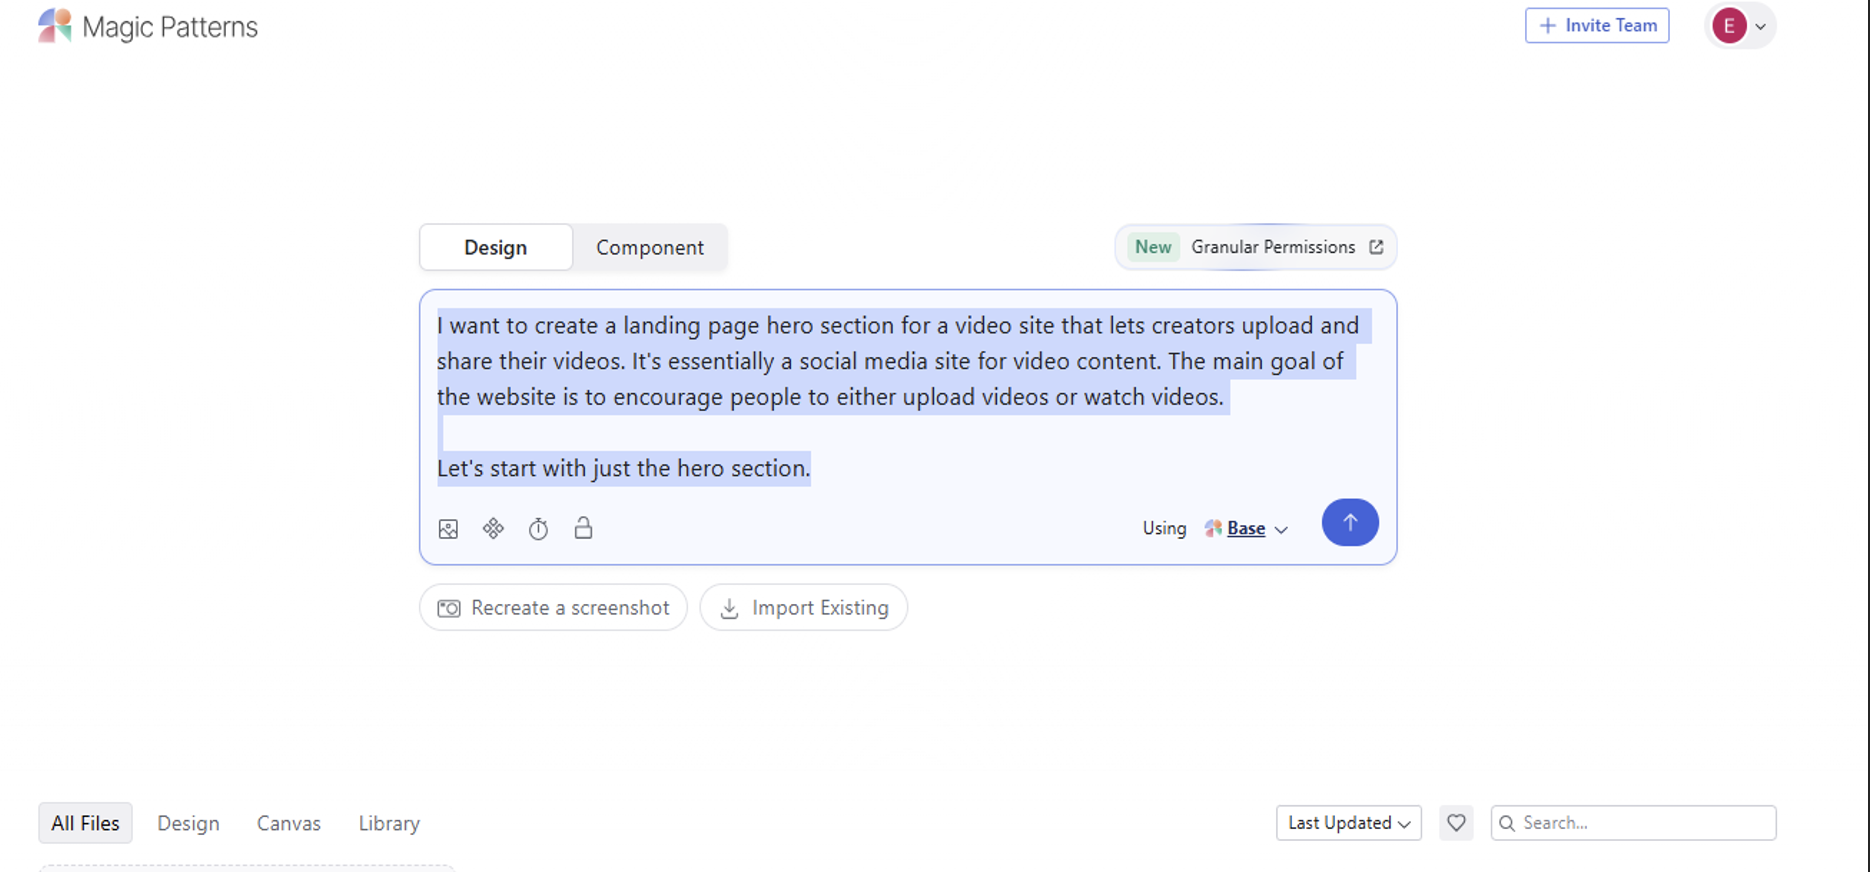
Head over to magicpatterns.com, sign up, and start by writing a general prompt that describes your product. Don't overthink it; you can refine things later in the editor.
It's a good idea to focus on the hero section first. AI tools usually work better with smaller, focused changes.
Be sure to include context like your product's key features and goals. This helps the AI align the design with your vision. Here's a generic prompt to start:

After a few seconds, we already have a solid starting point:
2. Set Theme and Colors
Once the initial design is generated, tailor it to fit your product's theme.
- Add your product's primary color (e.g. hex code)
- Specify light or dark mode
- Define a theme for consistency
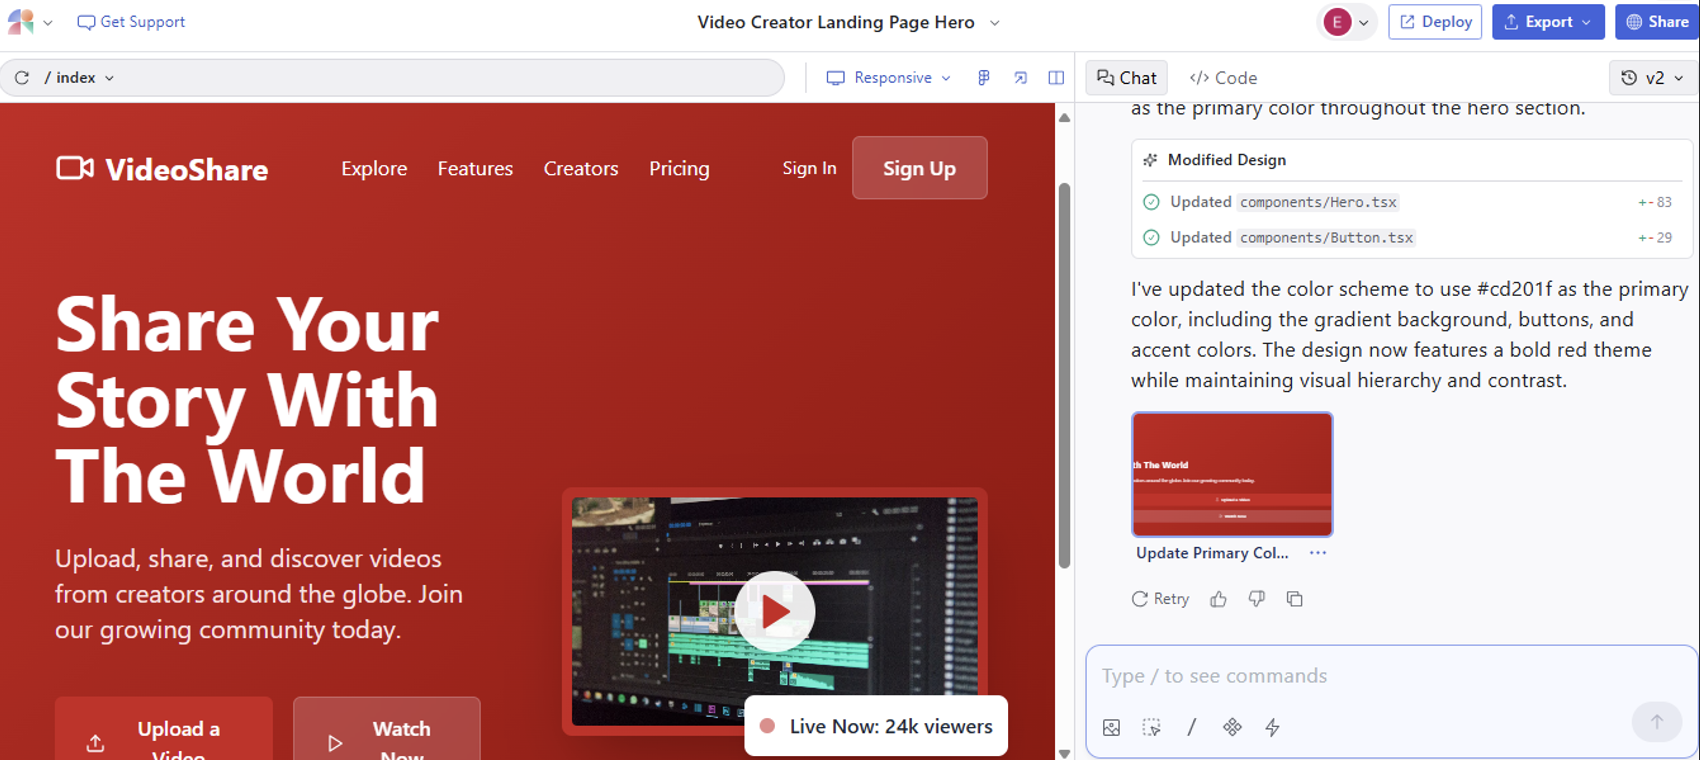
We'll do exactly that now, using a hex code to set the primary color.
You can also use presets to accomplish consistent styling in Magic Patterns.
3. Polish Early Elements
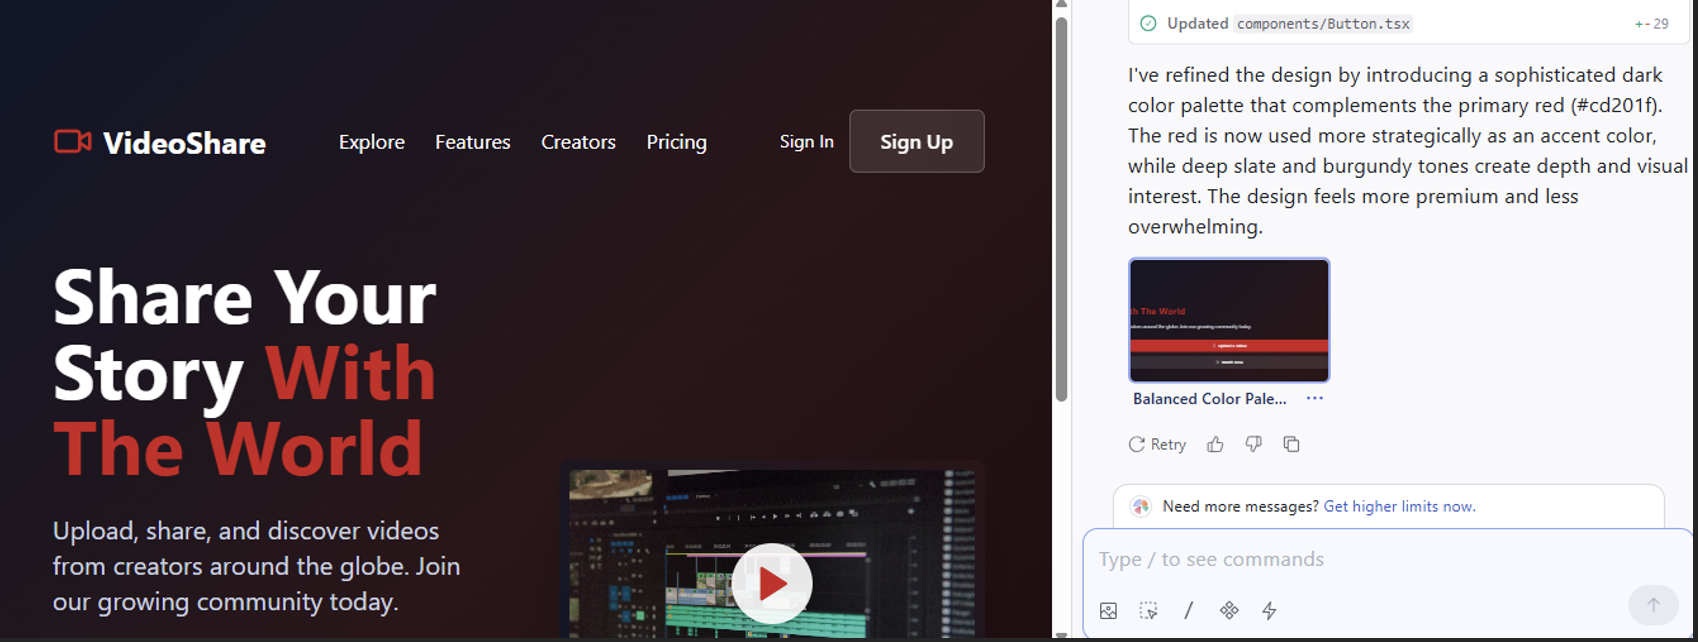
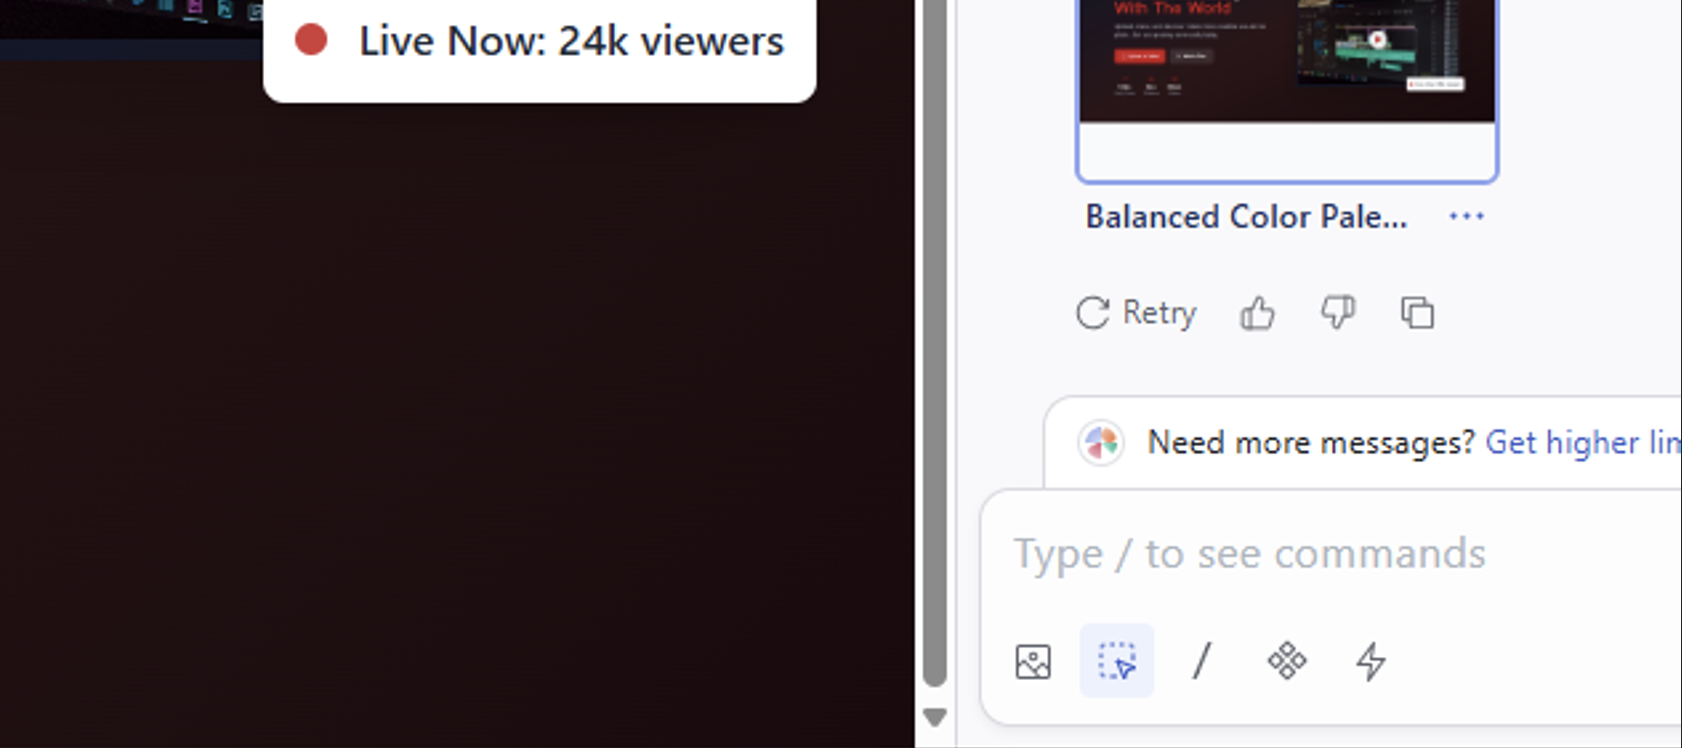
If initial elements don't look great, use the /Polish command to refine them. For example, if a color is too overpowering, you can ask the AI to tone it down.
And it will generate something much better.
##Phase 2: Ideation and Content Improvement
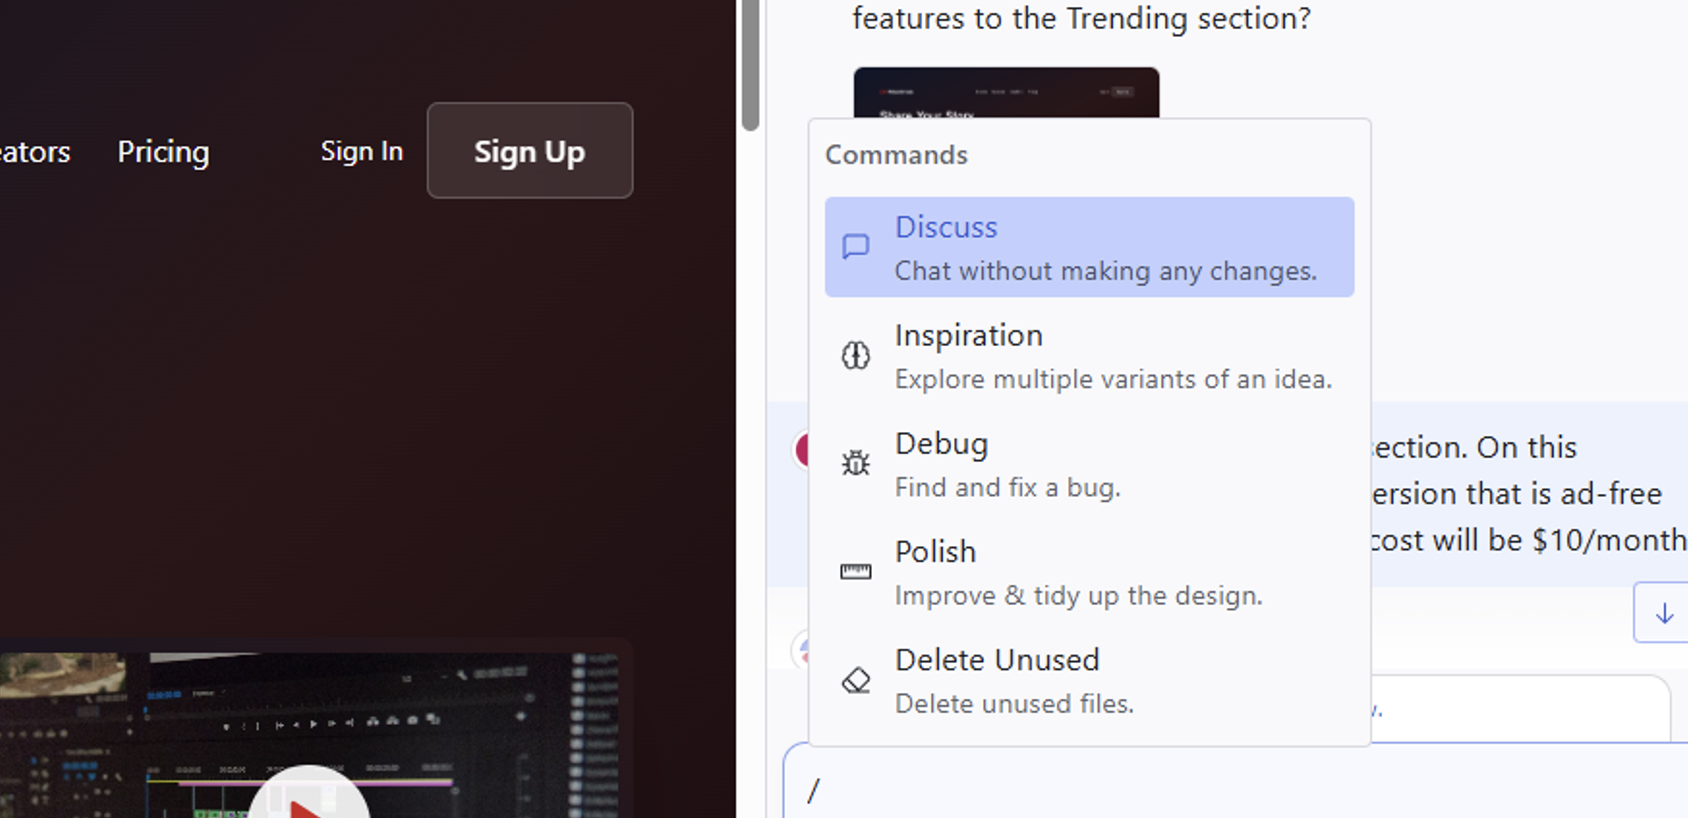
1. Use the /Inspiration Command
If a section feels boring, use the /Inspiration command to generate four distinct layout variations. Review the options and choose one to iterate on.
2. Clean Up the Layout
After selecting an inspiration, use the /Polish command again to clean up the layout and ensure elements are aligned.
3. Delete/Insert Precisely
To quickly remove sections, use select mode (the mouse icon below the chat input). This allows you to select a component and delete it directly, much like in Figma.
When adding new sections, be as specific as possible in your prompts. The AI only knows what you tell it.
4. Handle Images
Magic Patterns can find images from its training data, but they may not always load correctly. To fix this, drag and drop images directly into the chat or use the attachment button. This is especially useful for important assets like logos and illustrations.
Phase 3: Iterate and Finalize
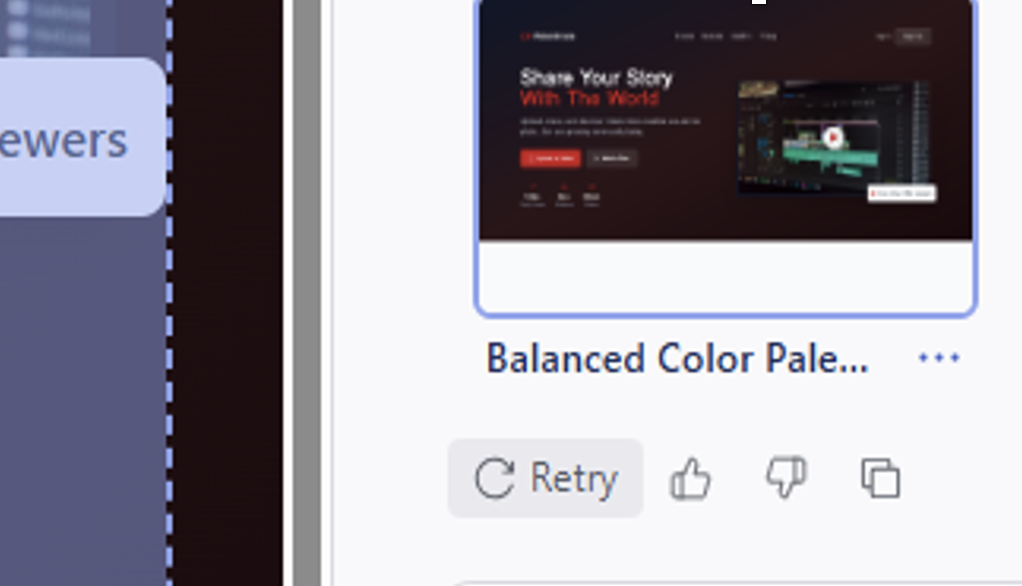
1. Use Retry and Revert
If an AI-generated output isn't quite right, use the retry function to re-roll. If the design starts heading in the wrong direction, you can revert to an earlier version by clicking on it in the interface.
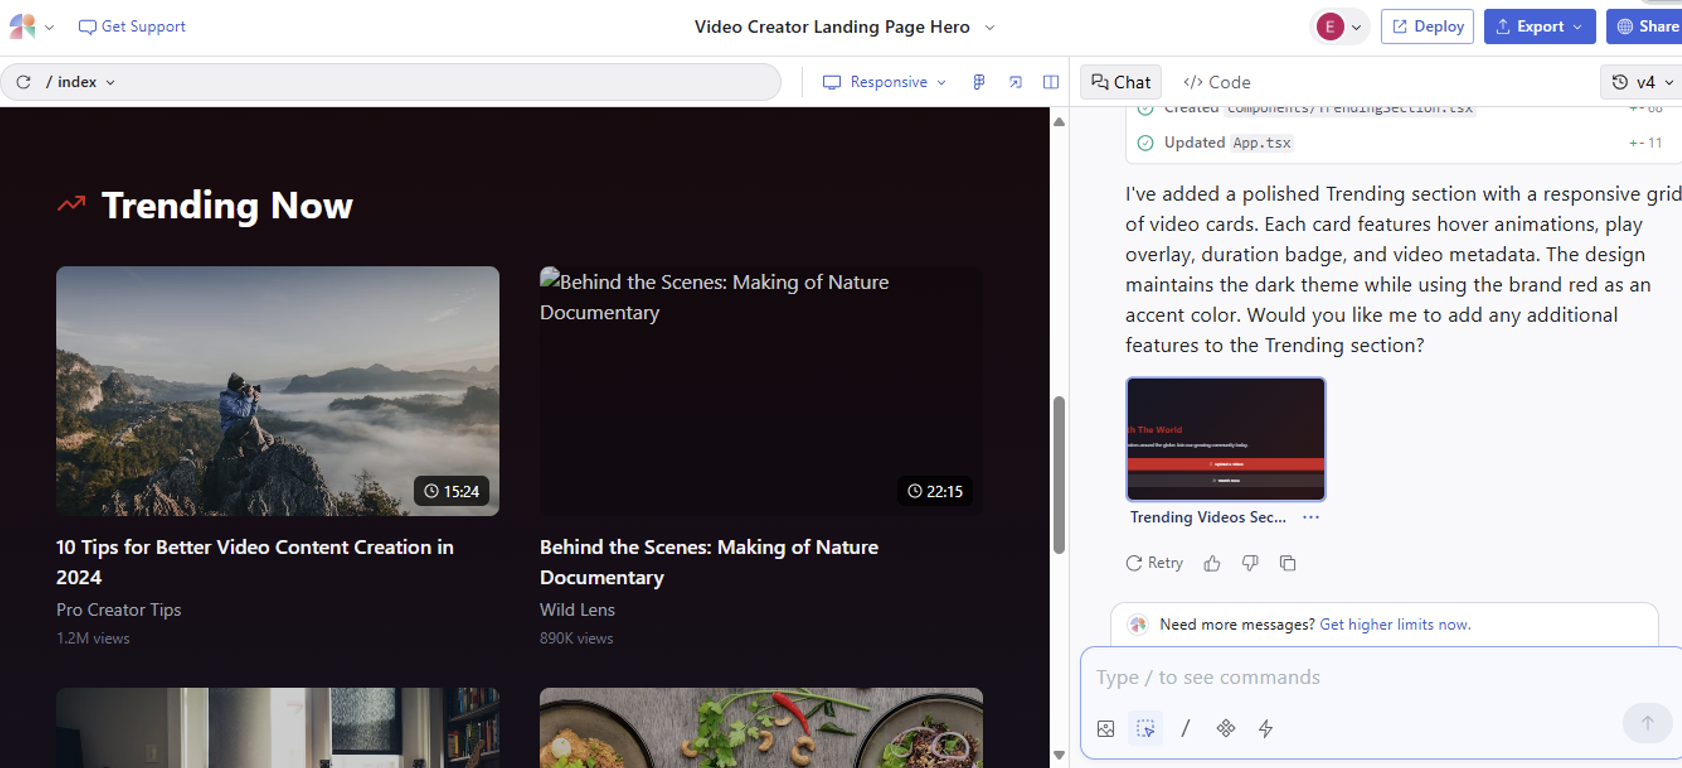
2. Add New Sections (e.g., Trending, Pricing, Footer)
Once you've established the hero section, you can add more sections like pricing or a footer. The AI will maintain the established theme and design consistency.
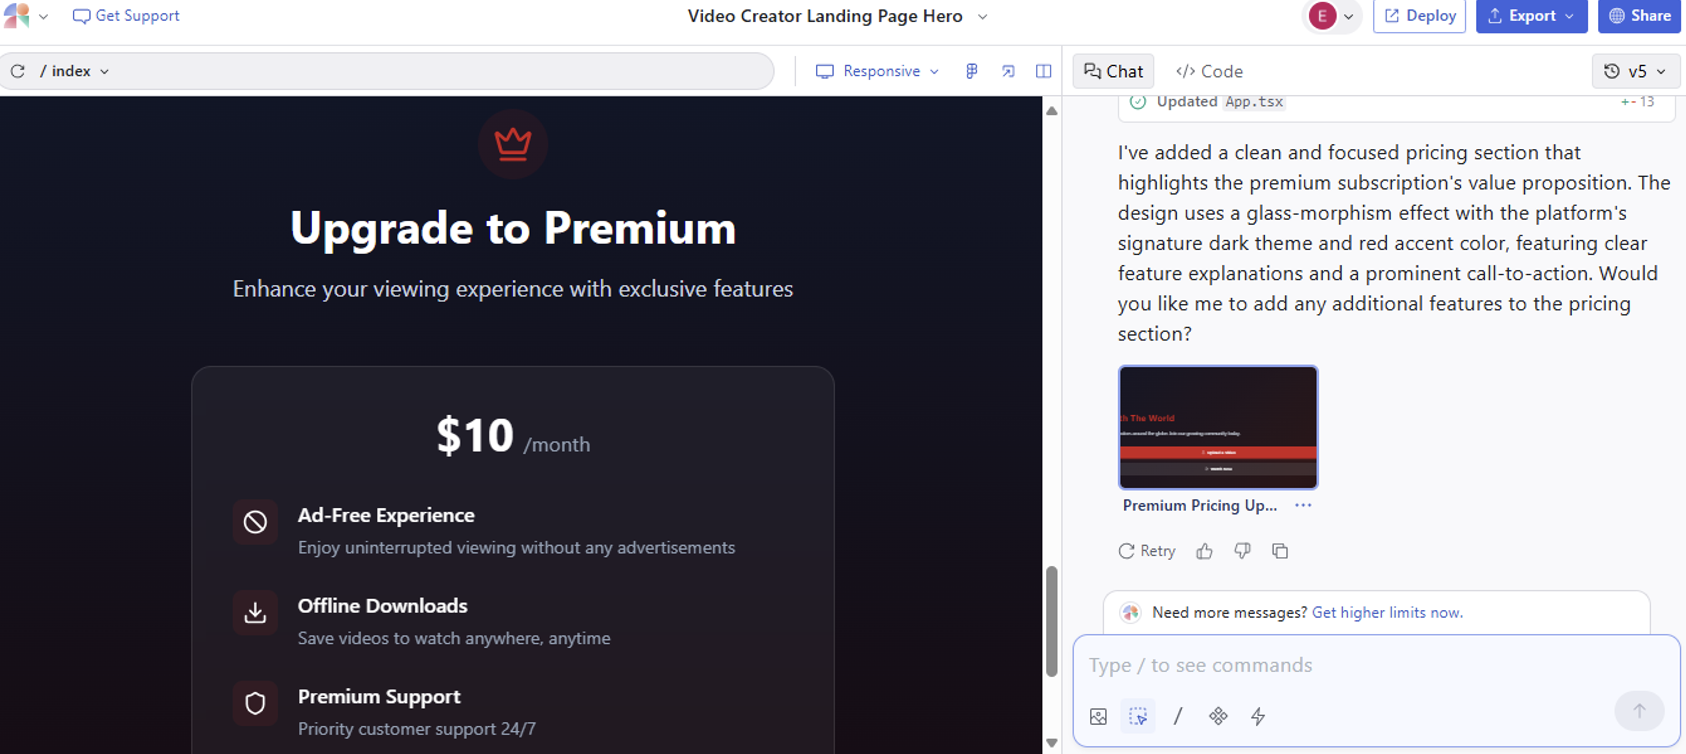
For instance, we added a pricing section with the prompt:
Which added this:
Phase 4: Export and Share
Once you're happy with your design, you have several options:
- Use it as a design prototype in conversations with stakeholders
- Export to Figma
- Deploy it to your own website
- Export it directly to code
- Sync it to GitHub
Every Magic Patterns design has its own unique URL, so you can share it with clients or teammates for instant feedback.
Final Thoughts
AI isn't replacing designers; it removes the busywork so you can focus on what actually matters: ideas, storytelling, and user experience.
Have an idea? Use AI to get started fast and iterate intelligently.
Want to build something? Try Magic Patterns today.
Build the best version of your product.